I have blogged several times about one of my new tech best friends, Google Docs. Ever since I discovered it and forced myself to use it, I find that I prefer it over Microsoft Word. Don’t get me wrong; I still love Word. I’ve been using it forever, and before that WordPerfect (did I just age myself?). However, I find that I am lured to the simplicity and collaborative features of Google Docs, so it stands to be my word processor of choice.
When I migrated my documents over to Google Drive, many of them were in Word format: sub plans, worksheets, recipes, etc. Initially I thought, No problem, they’re both word processors so I can just use Google Docs to open Word docs, right? Well…yes and no. Technically, I can right-click on a document with the .doc extension, select “Open With Google Docs,” and it will open it as instructed. But this new Google Doc doesn’t look quite right.
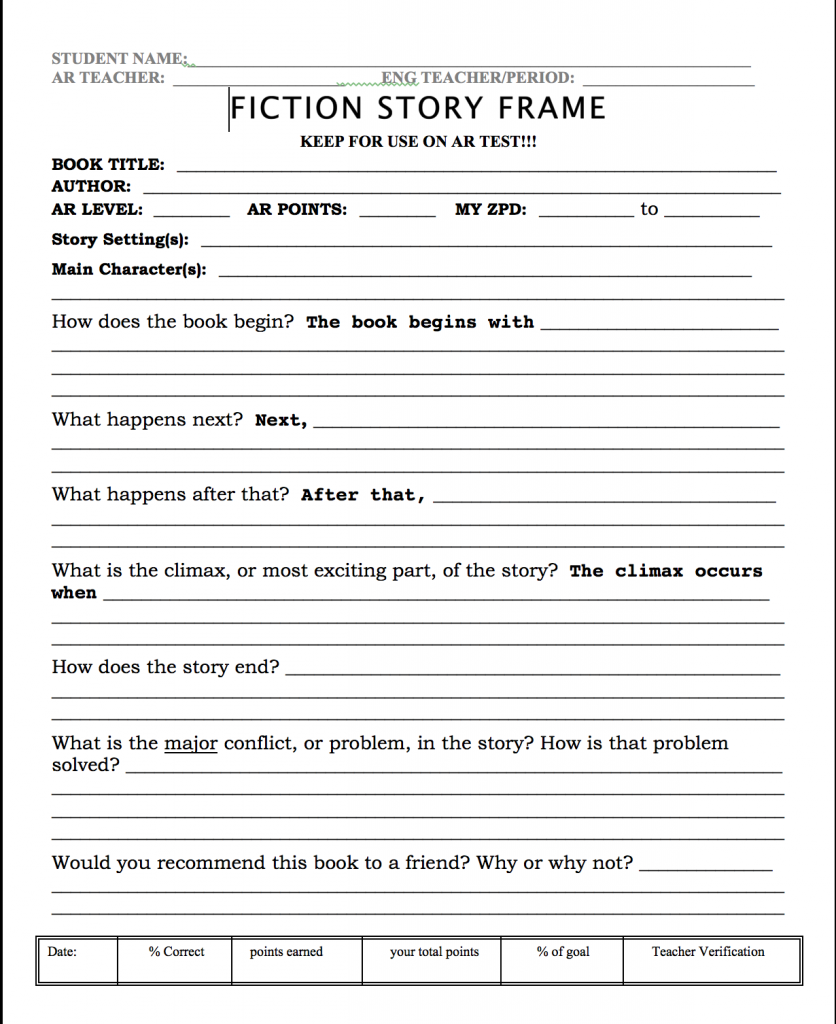
Take a look at this example of a document originally created in Word:
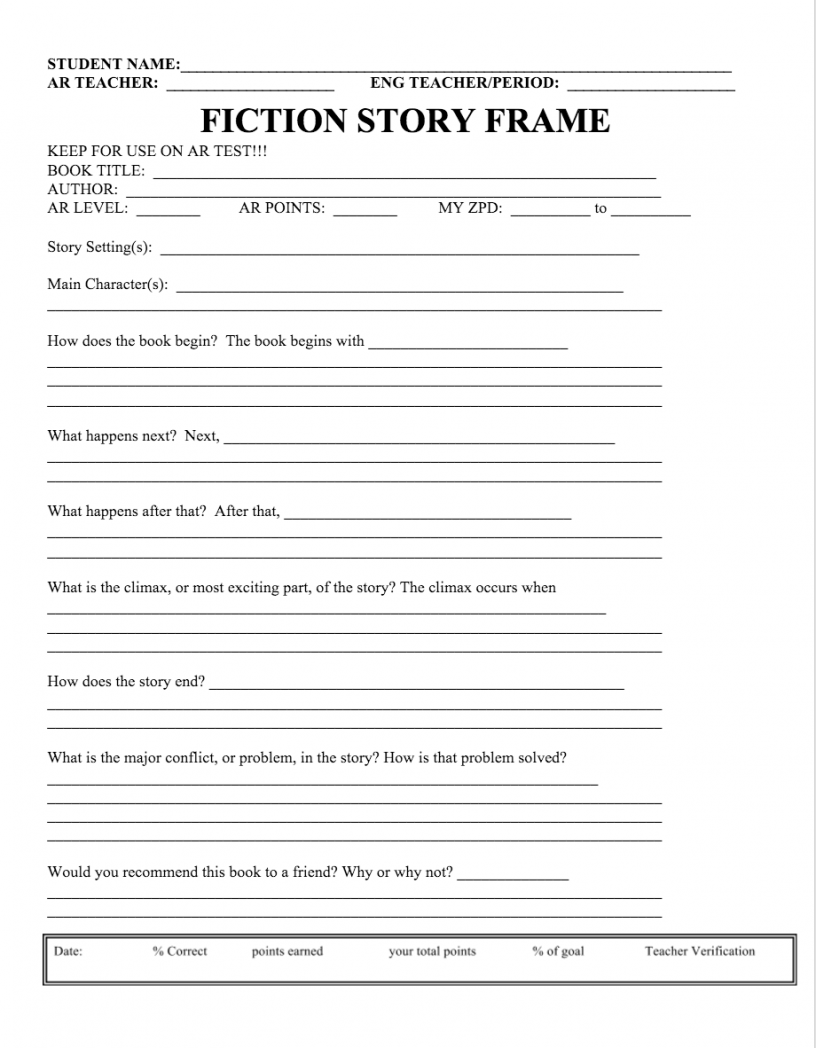
When I choose to open it in Google Docs, that same document looks like this:
 Notice how the lines and font are off. Also, you can’t tell from this picture, but the newGoogle Doc is two pages instead of one.
This is caused by the automatic formatting in Word. In a nutshell, it sets certain parameters like your margins, spacing, justification, etc. It’s one of those features that people love to hate about Word. Normally this isn’t an issue until you’re trying to open a Word document in a different word processor. Word wants to bring its formatting with it, but if you don’t have the exact same settings in the new word processor, it doesn’t translate perfectly. The result is that all of the text appears, however the font may be different, as well as spacing, dashes, lines, boxes, etc.
I found the solution to this by accident, and it’s beautifully simple.
- In your wonky-looking Google Doc, select all of the text (on a PC, you can click Control A, and on a Mac, Command A)
- Go to Format at the top, and then click on “Clear Formatting.”
And voila, you’re done!
Now, take a look at the original Word doc vs the new Google doc:
Not perfect, but much better than before!
Leave a Reply