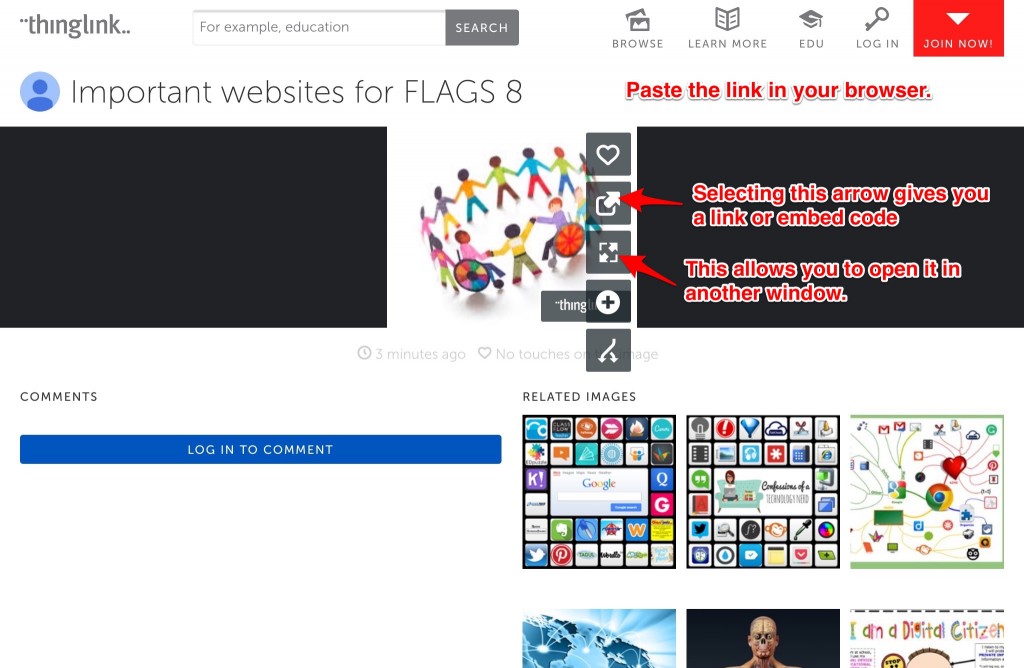
Thinglink is a tool allows you to create interactive images that can be used in a variety of ways. Both students and teachers can create these images, which helps to drive student learning and motivation. It offers a free and paid Premium version, but I’ve been able to do just fine with the free one!
Here are just SOME of the wonderful uses for Thinglink.
- Have students create one to demonstrate understanding and mastery of a concept.
- Use one for planning a short unit that includes text, websites, and video content.
- Annotate an exemplar of an assignment with explanations of each step. For example, if students need to write a summary, use a picture of a sample summary as your background image, and annotate the different parts of it that are required for an A.
- Analyze and annotate a visual in class.
- Students can label the parts of a cell, human body, etc.
- Students can use a picture of common items in a house and label them in a foreign language.
- Use a photo from a trip and add points of interest or anecdotes related to that story.
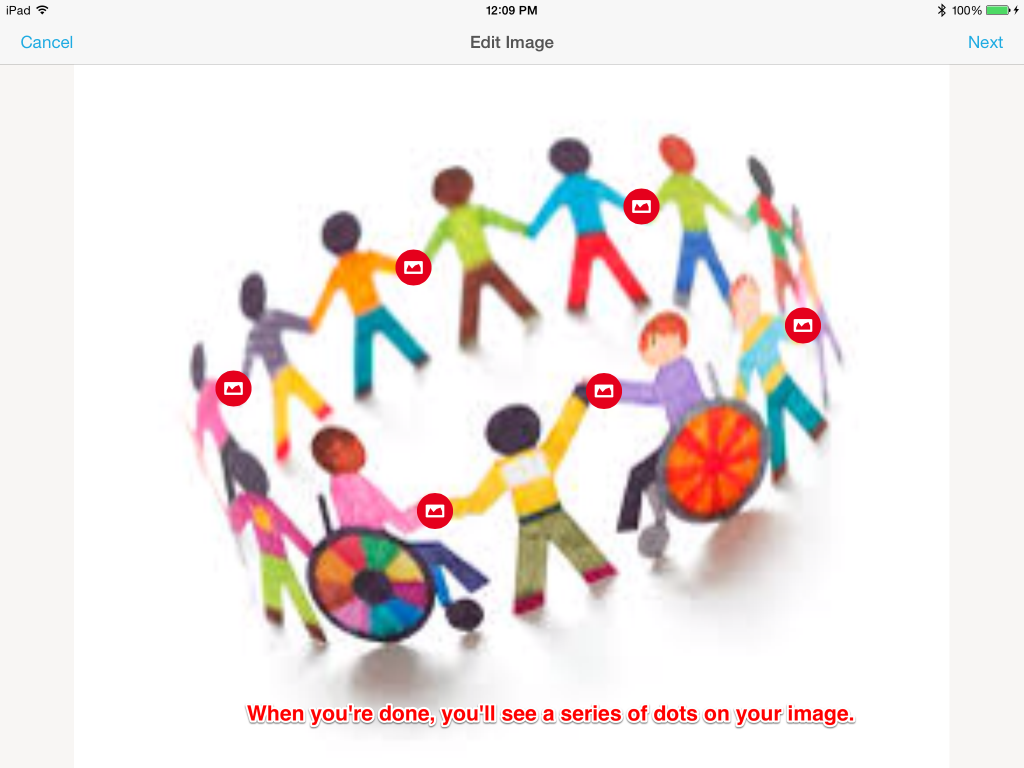
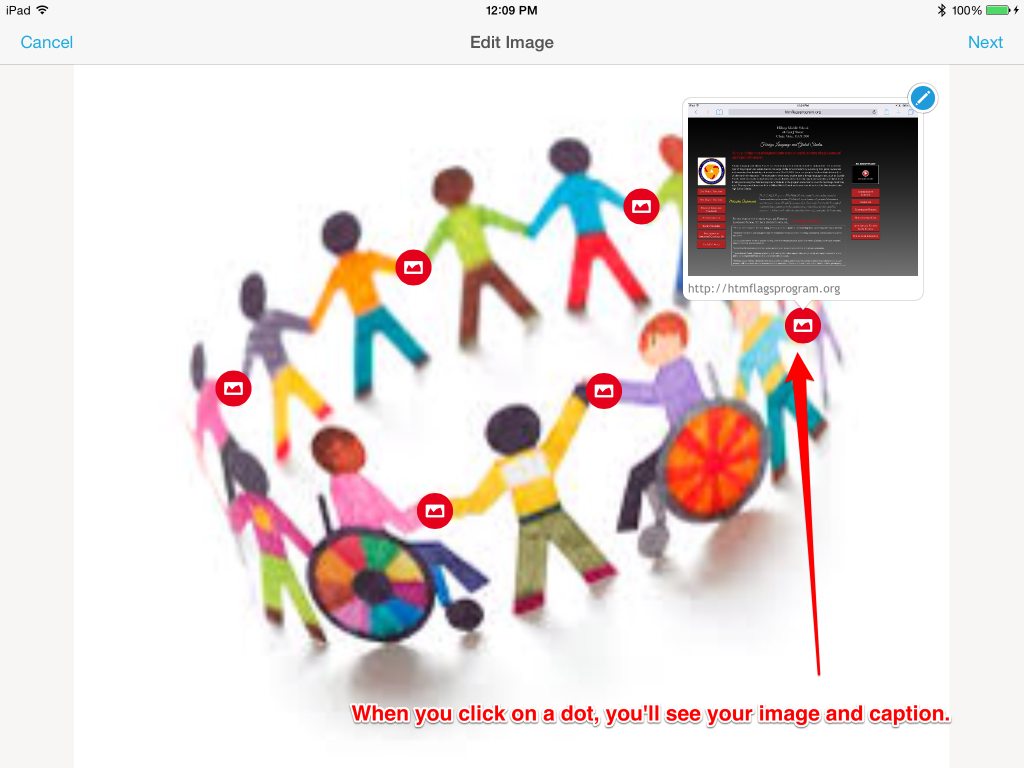
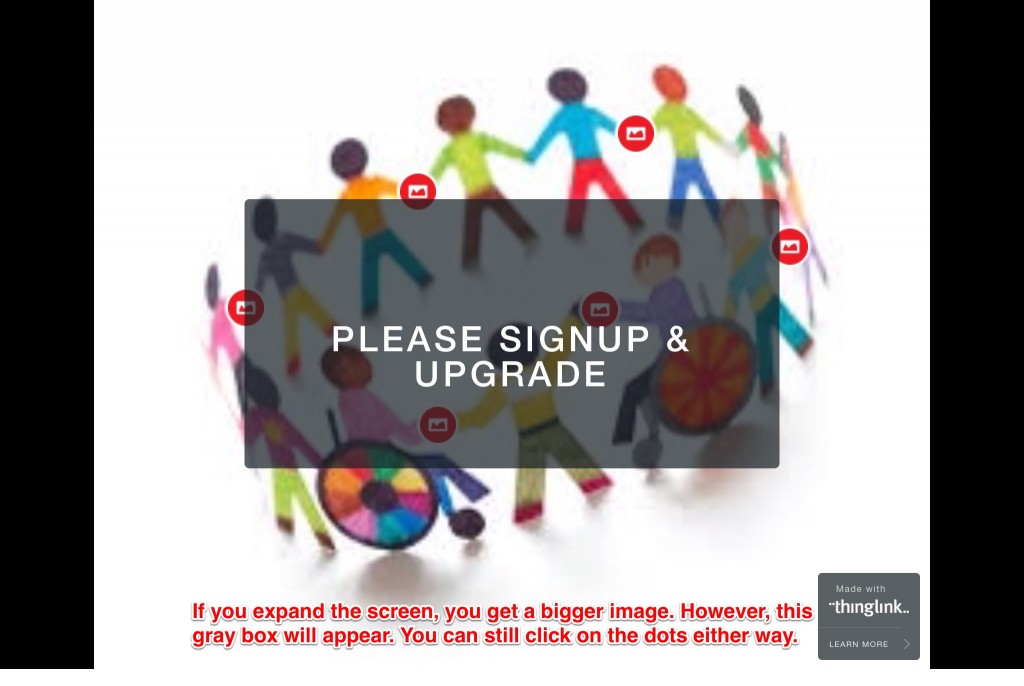
Just in case I haven’t sold you, I found a few content-area Thinglinks (Hover your mouse over the image, or click somewhere on the image, and little bullseyes will pop up. Click on those):
Okay this one I created, but still. I went on a limb and made one using one of my student’s math blog posts for Laurie Baker‘s class:
A Civil Rights Protest:
A lesson on theme:
Information on moon phases:
The Muscular System:
Something in French that I don’t understand:
See why Thingling is so great? Awesome, let’s get started!
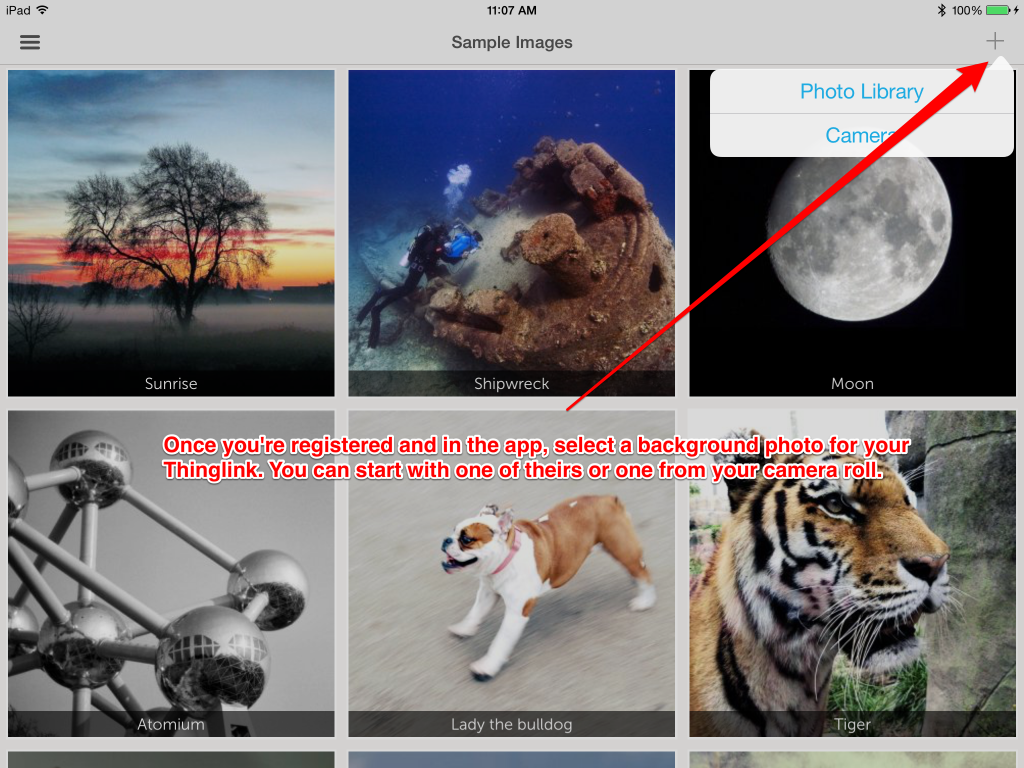
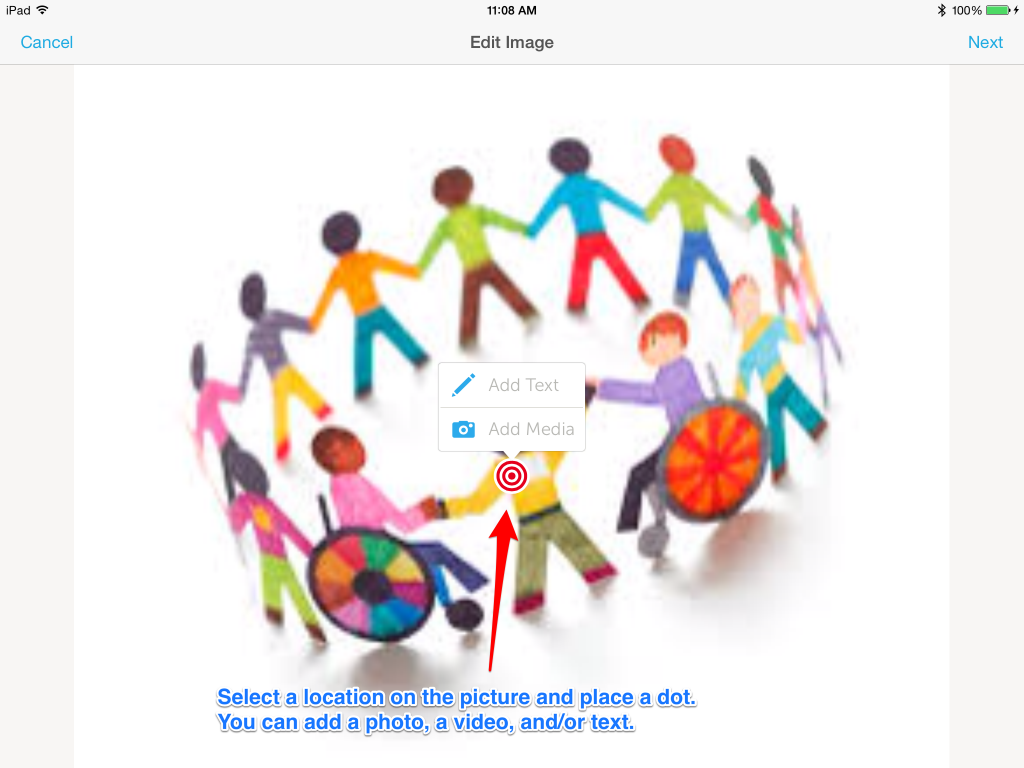
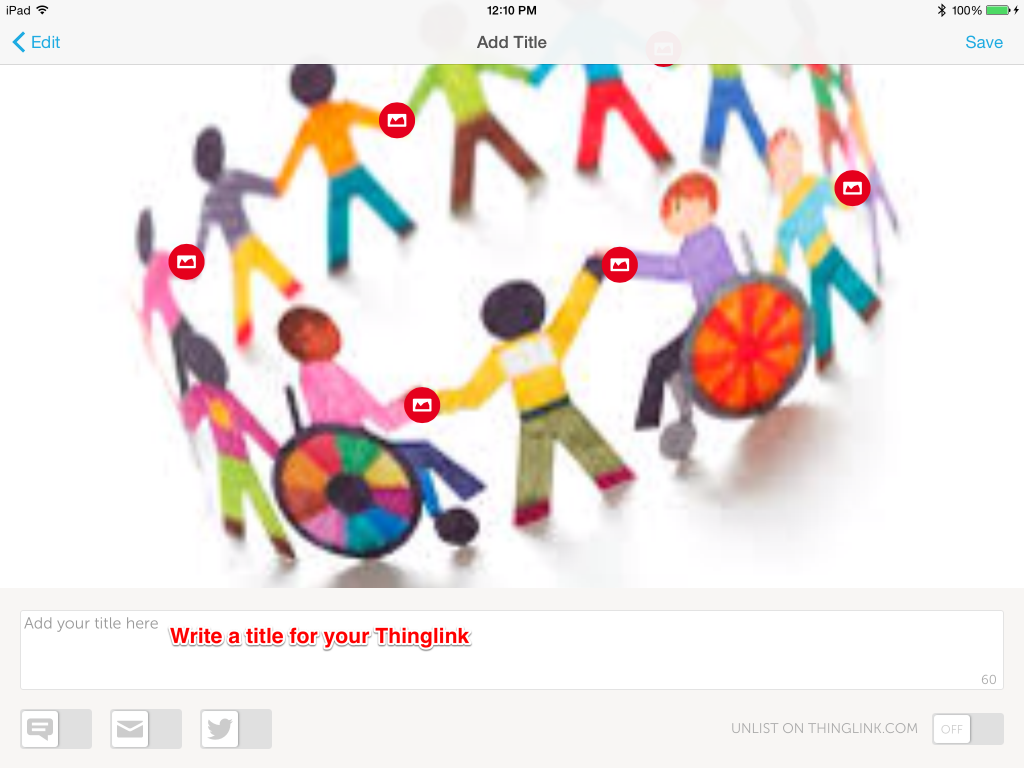
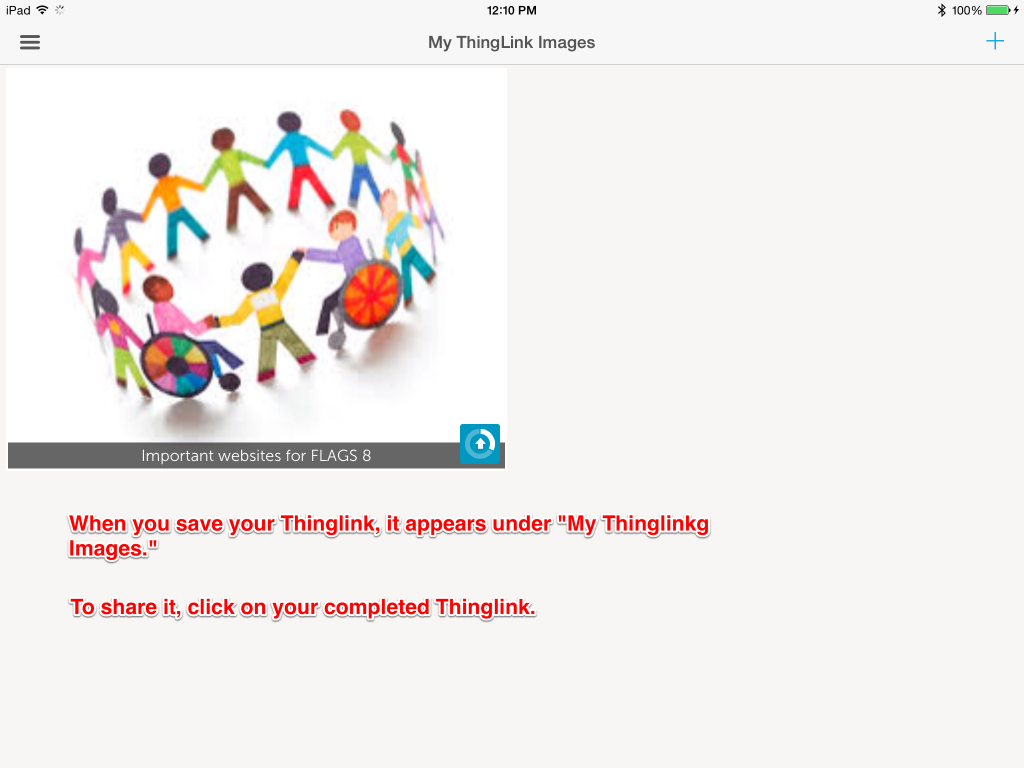
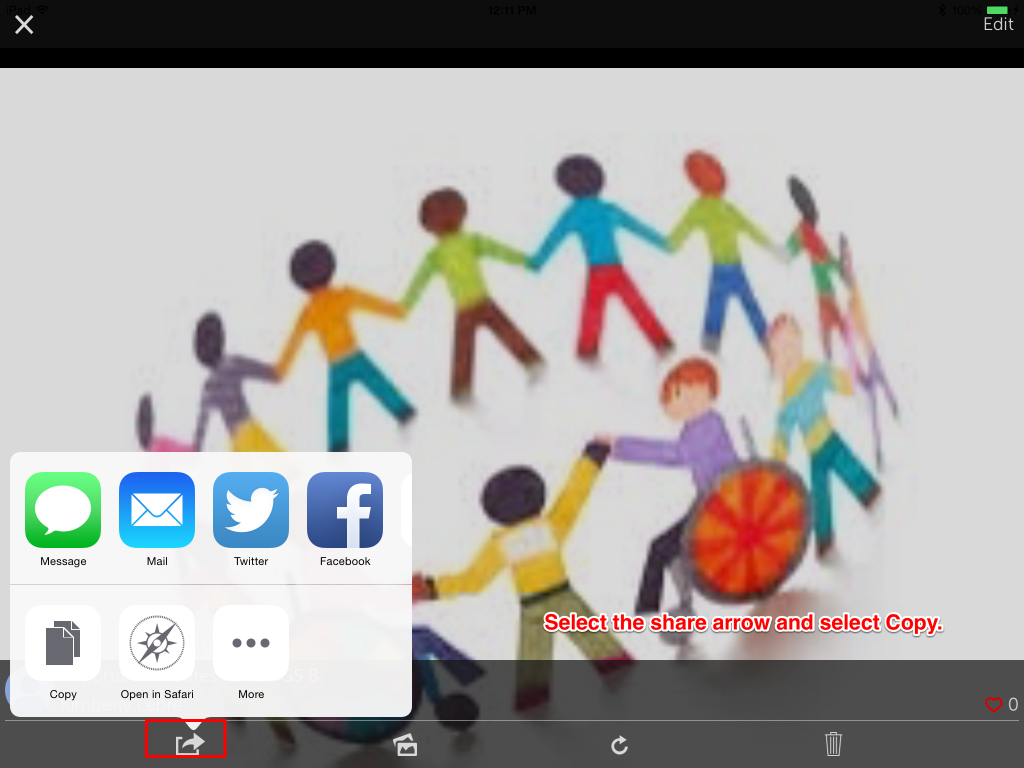
Here’s a tutorial on how to use this interactive app, including how to use it in different content areas. I’ll be demonstrating how to use it with the iPad.
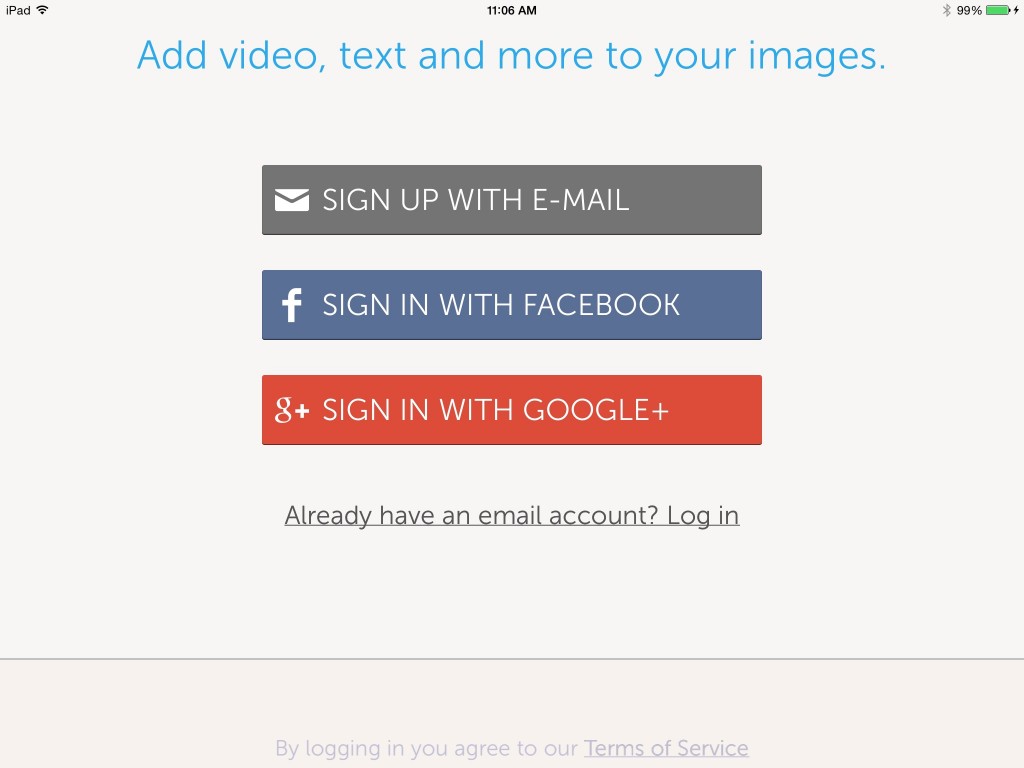
When you open the Thinglink app, you need to decide how to sign up or sign in.
Now that you know how to use it, get going!


Leave a Reply